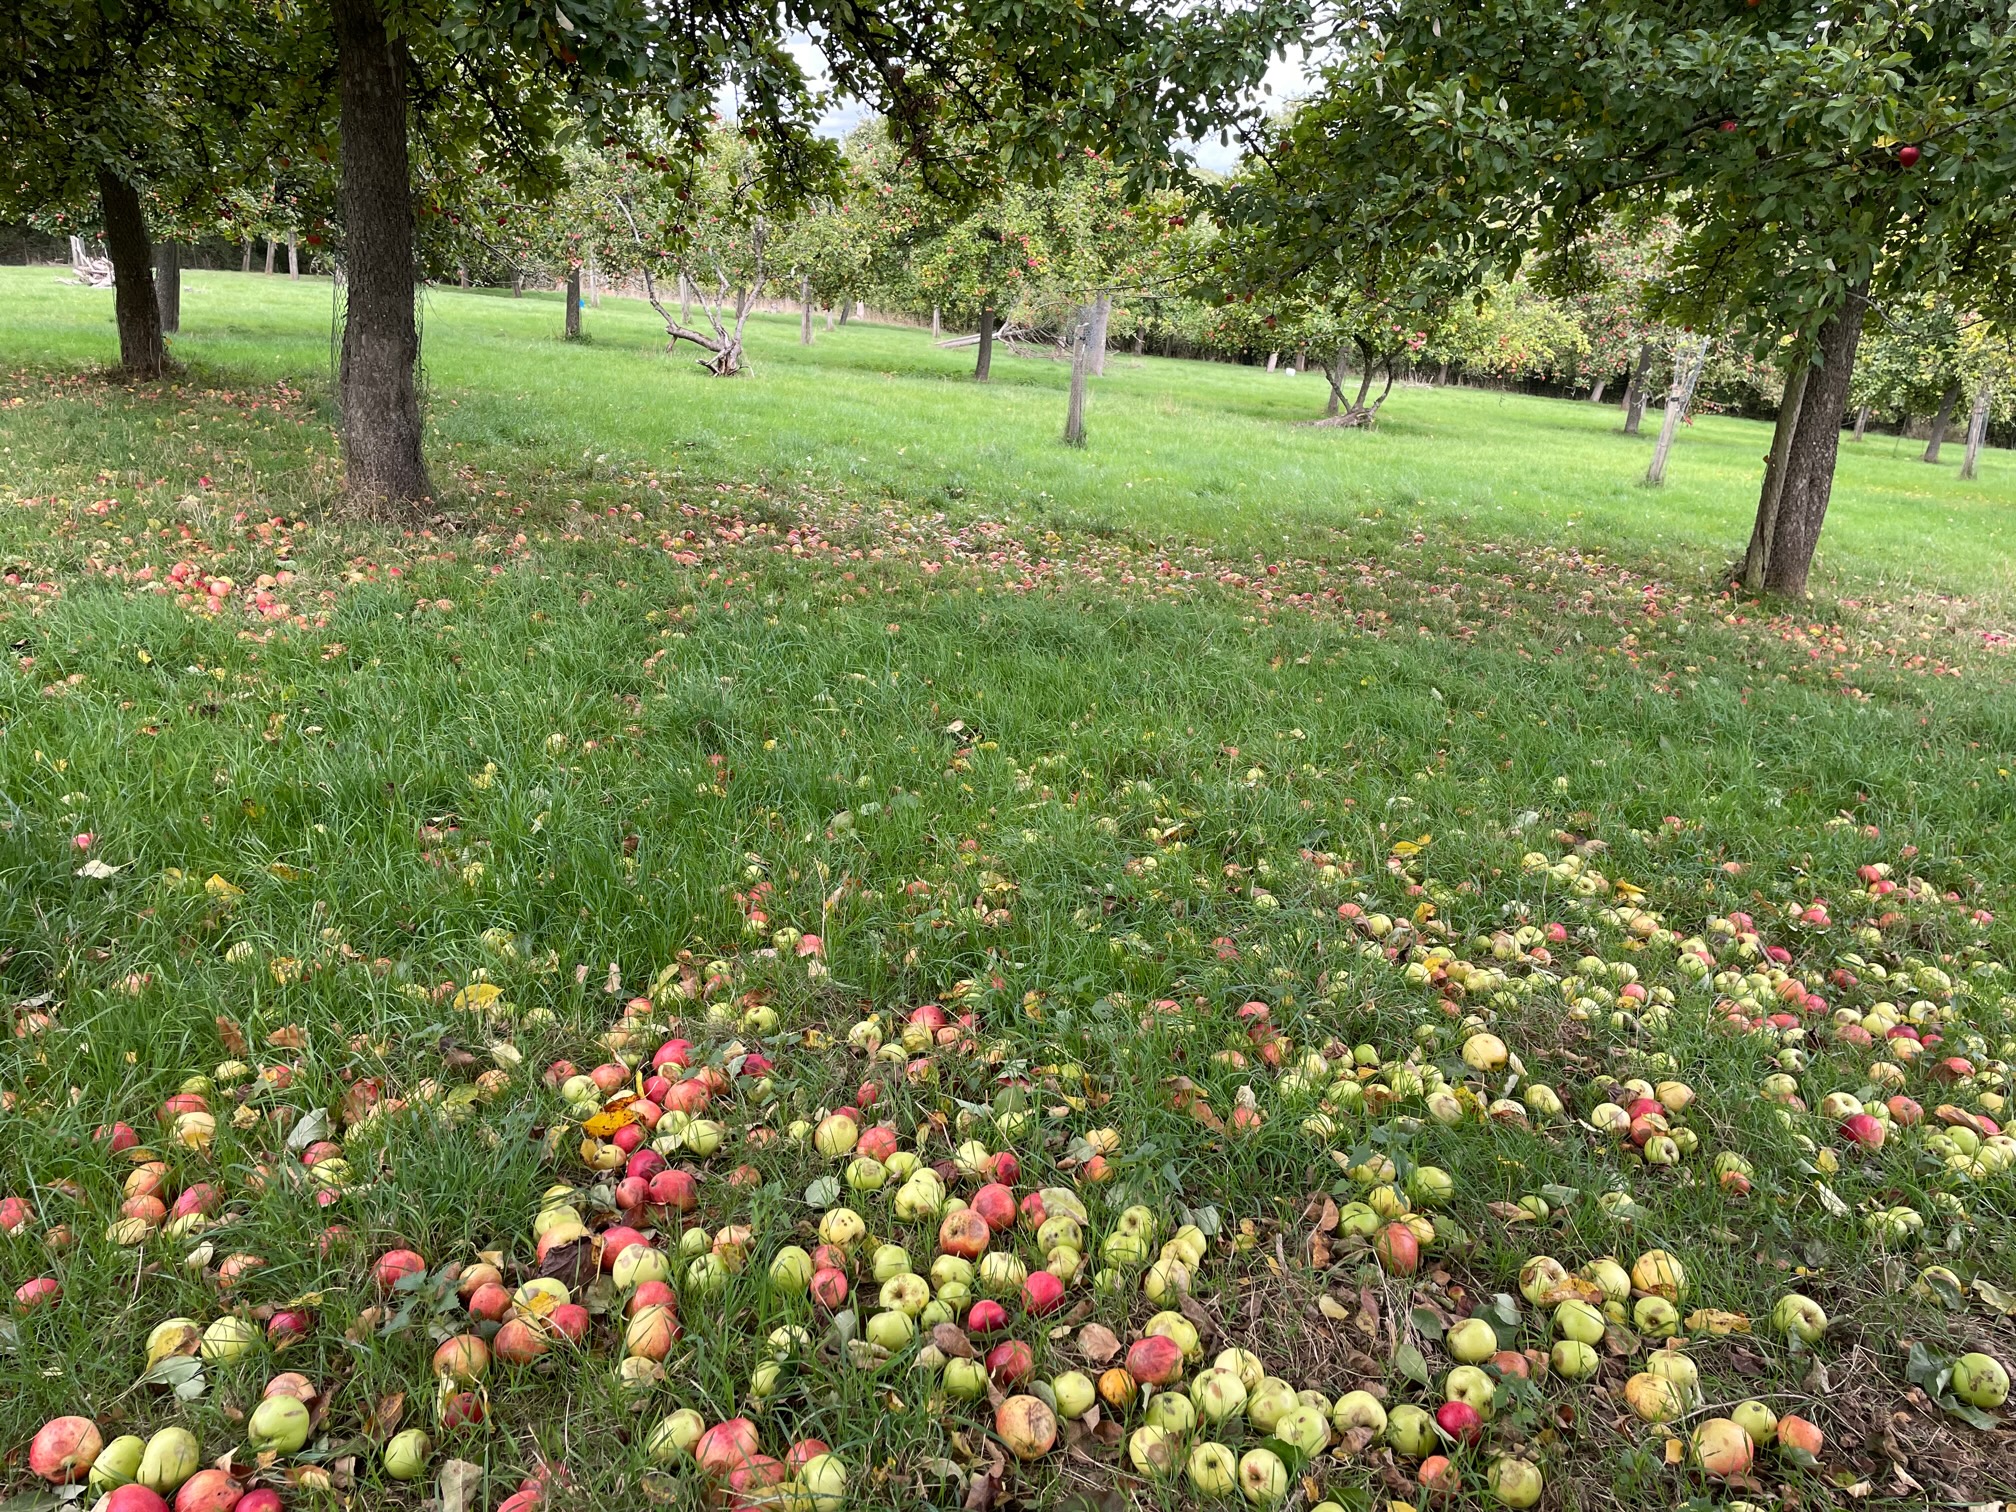
When Are Apples Ripe? Our Guide to Harvesting Apples
When Are Apples Ripe? Our Guide to Harvesting Apples

When it comes to making top-quality juice or cider, harvesting apples at the right time is absolutely crucial. The flavour and overall quality of your final product will depend on it. Harvesting apples too early can result in hard, sour apples that are unsuitable for pressing. So, let's explore some essential tips to ensure you get the best harvest possible and make the most out of your apple trees.
Fruit Thinning for Optimal Growth:
To encourage further growth and prevent damage to your apple trees, consider fruit thinning. If you notice branches heavily laden with fruit, gently remove the smallest apples to allow space for the others to grow. This step also helps sunlight to penetrate clusters, aiding in the ripening process.
Summer Pruning for Healthier Trees:
By engaging in some summer pruning of your apple trees, you can encourage the development of fruit buds for the following year. This practice helps even out a tree's natural tendency to be biennial and sets the stage for healthy apples in the future.
Determining Apple Ripeness for Pressing:
Knowing when your apples are ripe and ready for pressing is crucial. We want to make sure you are harvesting apples the right way, so here are three helpful tips to judge their ripeness:
- Cut a sample apple in half and check the colour of the pips. Ripe apples should have black and glossy pips, while pale or brown ones need more time on the tree. Only apples with black pips are suitable for juicing and cider making.
- Hold a large apple in your hand and gently twist it off the stem. A ripe apple will readily fall into your hand, ensuring a bruise-free harvest. For hard-to-reach apples, consider using harvesting tools to help in your apple harvest.
- Never use rotten apples for pressing or storage, as they can spoil the rest of your apples. Follow the golden rule: don't press what you wouldn't want to eat. Small blemishes, however, are generally fine for cider making.
Apple Varieties & Ripening Times:
Identifying the apple varieties you have and understanding their typical ripening times is incredibly helpful. To keep track of your trees, label them with metal tags. Additionally, you can create a named garden plan to ensure you don't forget essential details when you are harvesting apples.
Crafting Your Perfect Cider:
For cider making, apples with a high sugar content are ideal, as they provide the yeast with the necessary ingredients for fermentation and influence the alcohol content of the finished cider. Different regions have unique cider styles. In the West Country it boasts special varieties of cider apples that are high in tannin which produces a rich, brown juice. On the other hand, the Eastern Counties prefer paler ciders created from blends of dessert and culinary apples.
To achieve a well-balanced cider, try to avoid using solely acidic fruit, as the acidity becomes more pronounced after the sugar converts to alcohol. For culinary apples, consider letting them mature until late in the season before pressing, ideally in December or the New Year. When storing maturing apples, remember to exclude any rotten or bruised fruit, and keep them in a cool, airy place while regularly checking for signs of rot.
By following these friendly tips and tricks, you'll be well on your way to perfectly harvesting apples for juicing or cider making. Remember to be patient and let your apples ripen fully to enjoy the best flavours and yields. Harvesting apples the right way for juicing and cider-making is easier, and pressing apples is even easier with Vigo Presses' Complete Starter Kit. Happy harvesting and cheers to fruitful cider-making!
